Metal Frame Fence Kits are a popular choice in fencing for their strength, durability, and sleek design. These kits help homeowners build their fences easily. They combine strong materials like metal frames with your choice of fence panels, either wood or metal. Metal Frame Fence Kits could be the right choice for a fence that looks good and works well.
This guide will show you seven simple steps to install a metal frame fence. This will help you do it efficiently and successfully. By the end of this article, you will know how to build a strong and stylish metal fence for your property.
Why Choose Metal Frame Fence Kits?

Before we discuss the steps, it’s important to know why many people choose Metal Frame Fence Kits instead of wood fences or other options.
- Strength and Durability
Metal frames offer excellent resistance to wear and tear. Unlike wood fences, which can warp, rot, or attract pests, metal frames maintain their integrity for years. When combined with the right fence panels, you get a fence that is robust and long-lasting.
- Easy Installation
The designers create these kits with user convenience in mind. They often come with all the parts you need. This includes fence posts, panels, and fasteners. This makes it easy to assemble.
- Customizable Style Options
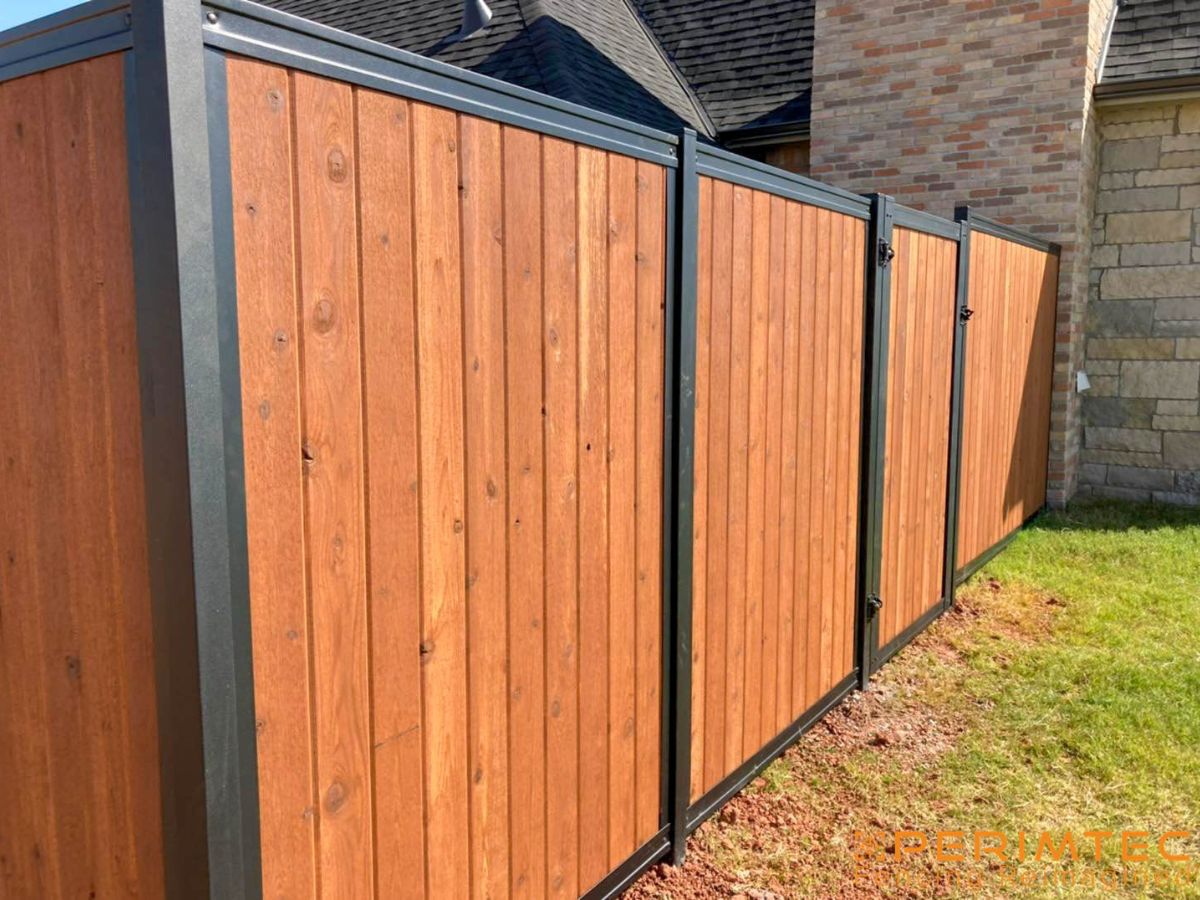
You can choose modern metal panels or the warm look of wood fence inserts. Metal Frame Fence Kits let you match your style.
- Low Maintenance
Metal frames have a strong powder coat finish. This makes them resistant to rust, chipping, and fading. As a result, they need less maintenance.
Now that we know why these kits are a fantastic choice, let’s get into the installation process.
1. Plan and Prepare the Layout
The first step to any successful fence installation is preparation. Begin by planning the layout of your fence.
- Measure your property using a measuring tape and mark the boundaries where the fence will go. Be sure the measurements are accurate to avoid surprises later.
- Outline the areas where you will install the posts and panels using stakes and string. This ensures straight lines and helps you visualize the size and shape of your fence.
- Check local zoning laws and regulations to ensure your project complies with height restrictions and property line rules. Additionally, contact utility providers to avoid digging near underground pipelines.
Taking the time to plan properly will make the rest of the installation process smoother.
2. Gather Your Tools and Materials

Next, gather all the tools and materials needed for the installation. Most fence kits come with the essential components, but you may also need tools like these:
- Post-hole digger or auger
- Level
- Measuring tape
- Cement or concrete mix
- Drill and screws
- Safety gloves
Visit local stores to compare various fencing tools if you’re missing any. Tool availability might vary, so checking ahead of time can save you an extra trip.
3. Install Fence Posts
The fence posts form the foundation of your fence, providing support and stability for the structure. Follow these steps to install your posts correctly:
- Dig post holes. Use a post-hole digger or auger to dig holes approximately 24-36 inches deep, depending on your area’s frost line. This depth ensures your fence posts are sturdy and won’t shift over time.
- Insert the posts. Put the fence posts into the holes. Ensure you space them evenly by following the instructions in your Metal Frame Fence Kits. Spacing typically ranges from 6 to 8 feet.
- Set the posts with concrete. Fill each post hole with a cement or concrete mix and ensure the posts are level using a spirit level. Allow the concrete to cure overnight before attaching the fence panels.
Properly securing your posts is essential for the long-term durability of your fence.
4. Prepare the Fence Panels
Once your posts are securely in place, it’s time to prepare the fence panels. Choose your panels, like wood slats, metal panels, or composite materials. Then, follow the instructions in your kit.
- For wood fence panels, pre-treat the wood with a sealant or stain to protect it from moisture and sunlight.
- If you’re using powder-coated metal panels, double-check that the coating is intact and free of scratches. Powder coating adds an extra layer of durability and ensures the metal panels are rust-resistant.
Your panels need to be ready for installation to save time during the later steps.
5. Attach the Fence Panels
With your panels prepped and your posts cured, you can now attach the fence panels to the metal frame. Here’s how to do it effectively:
- Align the panels. Position each panel between the posts, making sure it is level and flush with your desired fence height.
- Secure the panels. Use screws or brackets to fasten the panels to the metal frame. Most Metal Frame Fence Kits come pre-drilled for easy assembly, so you should look for the alignment guides in your kit.
- Double-check stability. Once installed, gently push or shake the panels to ensure they are firmly secured and can withstand pressure.
Attaching the panels properly ensures the entire fence structure is stable and cohesive.
6. Install Additional Features
After the main structure of the fence is in place, you can add features to enhance its functionality and aesthetics.
- Gates: If your project includes a gate, attach it to the designated posts following the instructions in the kit. Ensure that the latch and hinges align for smooth operation.
- Decorative Finishes: Some fence posts come with tops or caps for a polished look. Install these last to add a professional touch.
Consider investing in accessories that match your overall design to make your fence stand out.
7. Inspect and Maintain Your Fence
Finally, inspect the fence to ensure everything is secure and properly aligned. Check that you tighten all screws, bolts, and fasteners, and ensure that you attach all panels evenly and free of gaps.
Regular maintenance will keep your fence looking fresh and functioning well. Clean metal frames with a mild soap solution to remove dirt and debris. Periodically check the powder-coated finish for any scratches and touch them up to prevent rust.
For wood fence panels, inspect for signs of weathering and reapply sealant or stain as needed.
Why Metal Frame Fence Kits Make DIY Fencing Simple

By now, it’s clear that Metal Frame Fence Kits simplify the DIY fencing process. With ready-made parts, simple instructions, and great flexibility, these kits help homeowners get professional results quickly.
If you are replacing an old wood fence or getting a new metal fence, Metal Frame Fence Kits are a great choice. They offer a simple solution for all your fencing needs.
Final Thoughts
Creating a durable, weather-resistant, and visually appealing fence has never been easier. By following these seven simple steps, you can confidently start your fencing project. You will enjoy the benefits of a strong metal frame fence.
If you are ready to start your project, check out the Metal Frame Fence Kits from Perimtectx. Find the perfect kits for your home today!
By using this guide, you can install your fence quickly. You will gain security, style, and peace of mind for your property.