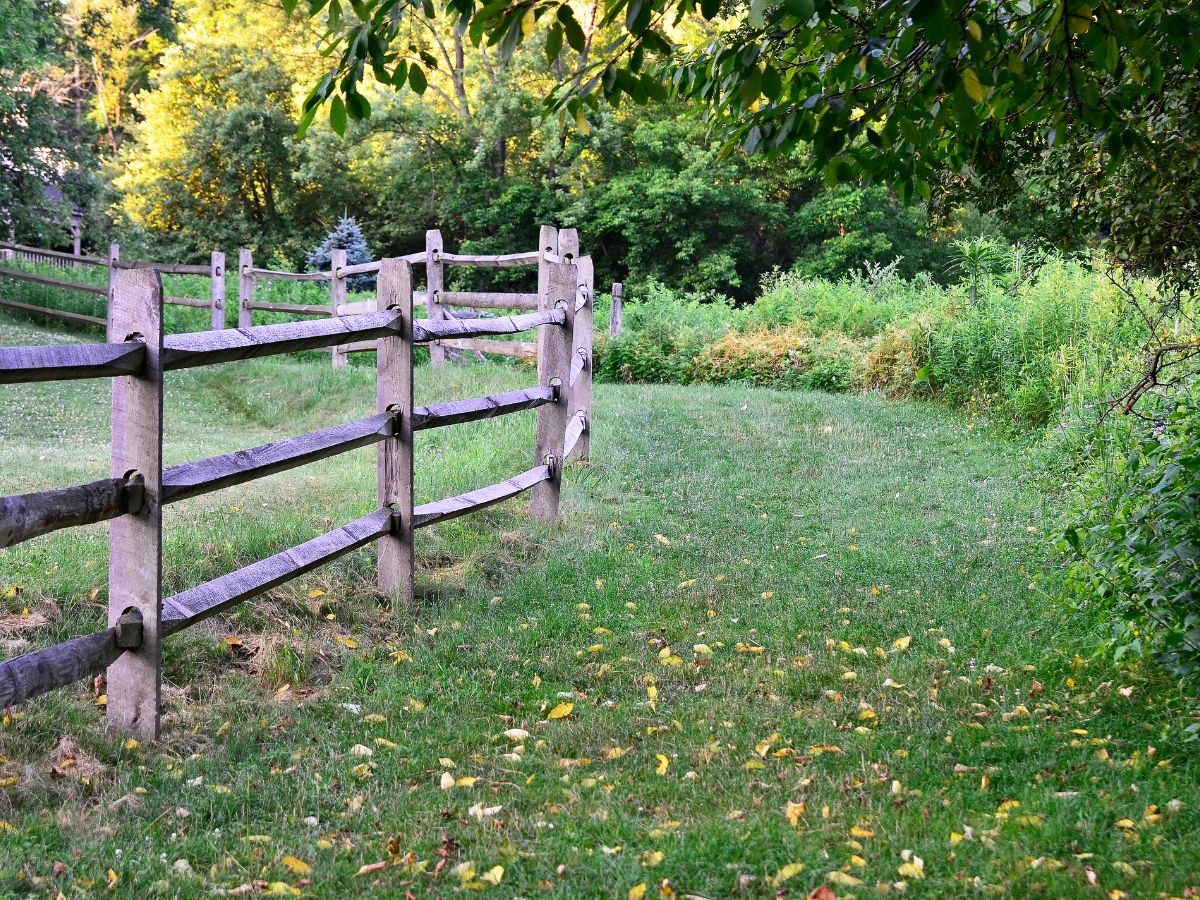
Installing split rail fence is a great way to add rustic charm, improve curb appeal, and clearly mark property lines. This type of fencing is both practical and visually appealing, making it a popular choice for enhancing outdoor spaces.
Whether you are starting a fencing project for the first time or you are an experienced DIYer, professional tips can help. They can make the process easier and more enjoyable.
This guide gives you five expert tips for installing split rail fence. It covers everything you need to know, from digging post holes to setting a fence gate. Let’s start!
1. Plan Your Fencing Project Thoughtfully
Every successful project starts with a solid plan, and installing split rail fence is no exception. Before grabbing your post-hole digger, take time to consider the following key steps.
Layout Your Fence Line
When installing split rail fence, use spray paint, stakes, or string to clearly mark your fence line, making sure it follows your property boundaries. This planning step helps you map out your post and rail layout, visualize the final look, and use your materials efficiently.
Contact the Utility Company
Safety is crucial, especially when digging holes. Reach out to your local utility company to mark underground lines before starting your project. This step helps you avoid damaging any water, gas, or electric lines.
Measure for Materials
Accurate measurements ensure you have the right amount of fence materials. Keep in mind the number of corner posts, post holes, and rails you’ll need. A lack of materials mid-project can lead to unnecessary delays.
Obtain Permits
Some local jurisdictions may require a permit for fence installation. Check with your local authorities to ensure you’re compliant with any legal requirements before beginning your DIY fence project.
2. Use the Right Tools and Fence Materials
When installing split rail fence, having the right tools and materials on hand makes the process smoother and the outcome more polished. Here’s a list of essentials to get you started:
- Post Hole Digger: For digging accurate and clean post holes.
- Fence Posts and Rails: Choose durable materials, like treated wood, to extend the lifespan of your split rail fence.
- Spray Paint or Stakes and Twine: For marking your fence line and post locations.
- Level and Tape Measure: To ensure your posts are set evenly.
- Concrete or Gravel: For stabilizing fence posts at the bottom of the post.
Investing in quality tools reduces frustration and ensures your fence will stand the test of time.
3. Dig Post Holes with Precision
Properly spacing and measuring post holes is essential when installing split rail fence that’s built to last. To dig post holes like a pro, follow these simple guidelines:
Mark Post Locations
Refer to your marked fence line or spray-painted spots. You should typically space posts 6 to 10 feet apart, depending on the length of your rails.
Dig Holes to the Right Depth
Digging holes too shallow can compromise the stability of your fence. Aim for each hole to be about 1/3 the height of the post above ground. For example, if your fence post is 6 feet high, dig the hole at least 2 feet deep.
Set Corner Posts First
Start with corner posts, since they anchor your fence and define the angles. Ensure these posts are plumb (perfectly vertical) before securing them with concrete or gravel.
Check Level as You Work
Use a level often to make sure each fence post is straight and stable. This will help you avoid big adjustments later.
4. Install Rails and Make Minor Adjustments
With your posts firmly in place, the next step in installing split rail fence is adding the rails—this is what gives your structure its classic, open look. Here’s how to do it efficiently:
Fit Rails Into Place
Most post-and-rail fences are designed with fences that slide into pre-drilled holes in the posts. Align your rails properly and secure them into each post hole.
Fine-Tune Your Fencing Project
Make minor adjustments to the alignment of your rails for a consistent look. Ensure all rails are level and at a uniform height.
Secure Rails with Fasteners
Traditional split rail fences usually don’t need extra fasteners. However, using nails or screws can make them last longer, especially in windy areas.
Account for a Fence Gate
If your fencing project includes a fence gate, leave designated spacing for its installation. Measure the gate area carefully to ensure proper functioning and alignment with the rest of the fence.
5. Finish with Stability and Style
Installing split rail fence the right way means paying close attention to detail and adding the right finishing touches. Here’s how to ensure a clean, polished result:
Secure Posts with Concrete
For added stability, pour concrete around the bottom of the post. Allow the concrete to set fully before attaching rails. This step is especially important for corner posts, which bear extra weight and tension.
Inspect and Level
Once your posts and rails are in place, do a final inspection. Ensure you set all posts, secure the rails, and make your fence line even. Adjust anything that appears out of alignment.
Add Protection
To extend the life of your split rail fence, consider applying a weather-resistant sealant or stain. This simple step protects the wood from moisture, sunlight, and pests.
Clean the Area
Remove any leftover materials, rocks, or debris from digging holes. This cleanup ensures your yard looks as polished as your new fence.
Why Installing Split Rail Fence is a Worthwhile Investment
Installing split rail fence is more than just setting a boundary—it’s about adding timeless charm to your property. This classic design blends naturally with the landscape, making it a smart and stylish choice.
Ideal for marking property lines, installing split rail fence also enhances curb appeal while remaining affordable and visually appealing.
The DIY nature of a split rail fence installation makes it an attractive option for homeowners. With the right tools, materials, and guidance, you can create a beautiful and functional fence.
Final Thoughts and Your Next Step
Successfully installing split rail fence is all about preparation, precision, and attention to detail. By following these five tips, you can tackle your fencing project with confidence and achieve professional-grade results. From planning your fence line to securing the posts, each step adds strength, durability, and charm to your project.
Ready to move forward with your fencing plans? Visit Perimtectx for expert help with installing split rail fence systems and more. Their experienced team offers top-quality materials and precise installation services to match your needs. Whether you’re taking on a DIY project or want a professional to handle everything, Perimtectx is here to make your vision a reality. Start your fencing journey today!